×
Get your first consultation Free
Book Your Expert-Guided Online Printer Support Appointment
Get expert guidance for printer setup, maintenance, configuration, and troubleshooting from our certified professionals.
Call Us: +1 8887684709
.jpg)
Installing a new printer can be thrilling, but a good dose of problems can also accompany it. Whether you are installing your device for the first time or setting it up after a reset, setup issues are not rare. Most users encounter problems such as connection failure, driver issues, or printing issues during the initial setup. If you are experiencing the same problems, this step-by-step Epson printer setup troubleshooting guide will assist you in fixing common setup issues effectively.
Before going through the actual troubleshooting steps, you must know the issues you may face during printer setup. These can be:
Regardless of the issue, using the correct Epson troubleshooting support methods can get your device running in minutes.
The first and most essential step in any Epson printer troubleshooting process is to verify all physical connections. Ensure your printer is correctly plugged into a working power outlet and all cables (USB or Ethernet) are firmly connected.
Confirm that the printer's Wi-Fi is turned on and connected to the correct network for wireless setups. If you're using a wired connection, ensure the cable isn’t damaged. A loose or faulty connection can cause your printer to go undetected during setup.
Occasionally, a reboot can fix most temporary issues. Switch off your printer and disconnect it from the power outlet. Switch off your computer or other connected devices. Wait for a minute or two, and then reboot everything. This removes minor software bugs and re-establishes the link between devices.
For wireless printer installations, network configuration is essential. If your printer is not connecting to Wi-Fi, make sure that:
If the connections are faulty, try relocating your printer near the router or reconnecting it. Various Epson help troubleshooting features are also suggested, including restarting your router to resolve network bugs.
One of the most common causes of setup errors is outdated or missing drivers. Your computer cannot communicate effectively with your printer without the correct driver.
Steps to Install/Update Printer Drivers:
You can also use built-in operating system utilities to install drivers automatically. For example, Windows users can go to Device Manager to check for updates.
Most operating systems provide built-in troubleshooting tools automatically detecting and resolving common printer setup issues. For example:
These tools are highly effective for fixing common errors, such as printer offline status, print queue problems, and connectivity failures.
Improper configuration during the setup process can lead to errors. Here are a few things to double-check:
Correct configuration prevents common issues that may interrupt printing tasks.
A stuck print job or overloaded print queue can halt new print requests. To clear the queue:
Additionally, restarting the Print Spooler service can help:
This process refreshes the printer communication and clears old jobs from blocking new ones.
Sometimes, physical obstructions can trigger setup errors. Check for:
Carefully remove any jammed paper and reinstall cartridges if necessary. If your printer isn't recognizing new cartridges, clean the contacts gently and reinsert them.
Like drivers, printer firmware must stay updated to ensure smooth operation. Firmware updates can fix bugs, improve performance, and add new features.
How to Update Firmware:
Note: Never interrupt the firmware update process, as it can cause severe malfunctions.
If none of the above work, resetting the printer to its default settings may be the way forward. This deletes all the personalized settings, network settings, and errors built up over time.
Steps to Reset:
After the reset, you’ll need to set up your printer again from scratch, but this often resolves stubborn issues.
One of the best ways to prevent future setup errors is by performing regular printer maintenance. Just like HP Printer Maintenance or Canon Printer Troubleshooting methods, cleaning the printhead and rollers and replacing cartridges on time can extend the life of your device and reduce errors.
Regular maintenance tasks include:
Proper maintenance ensures your printer performs optimally and minimizes troubleshooting in the long run.
If you've tried everything and are still facing setup errors, it's time to seek Epson troubleshooting support from professionals. Certified technicians can remotely diagnose complex issues and guide you through advanced repair steps. Whether it's a connectivity problem, hardware issue, or software glitch, expert help can save you time and frustration.
Troubleshooting the most typical printer setup issues is unnecessary. By following the correct Epson printer troubleshooting procedures, the majority of problems may be resolved easily. An easy setup procedure depends on these techniques, which range from routine HP printer maintenance to verifying connections and updating drivers.
Professional Epson troubleshooting support services are always available if you need more help to ensure your equipment is performing at its peak. By taking precautions and maintaining your printer correctly, you can reduce the likelihood of running into these issues.
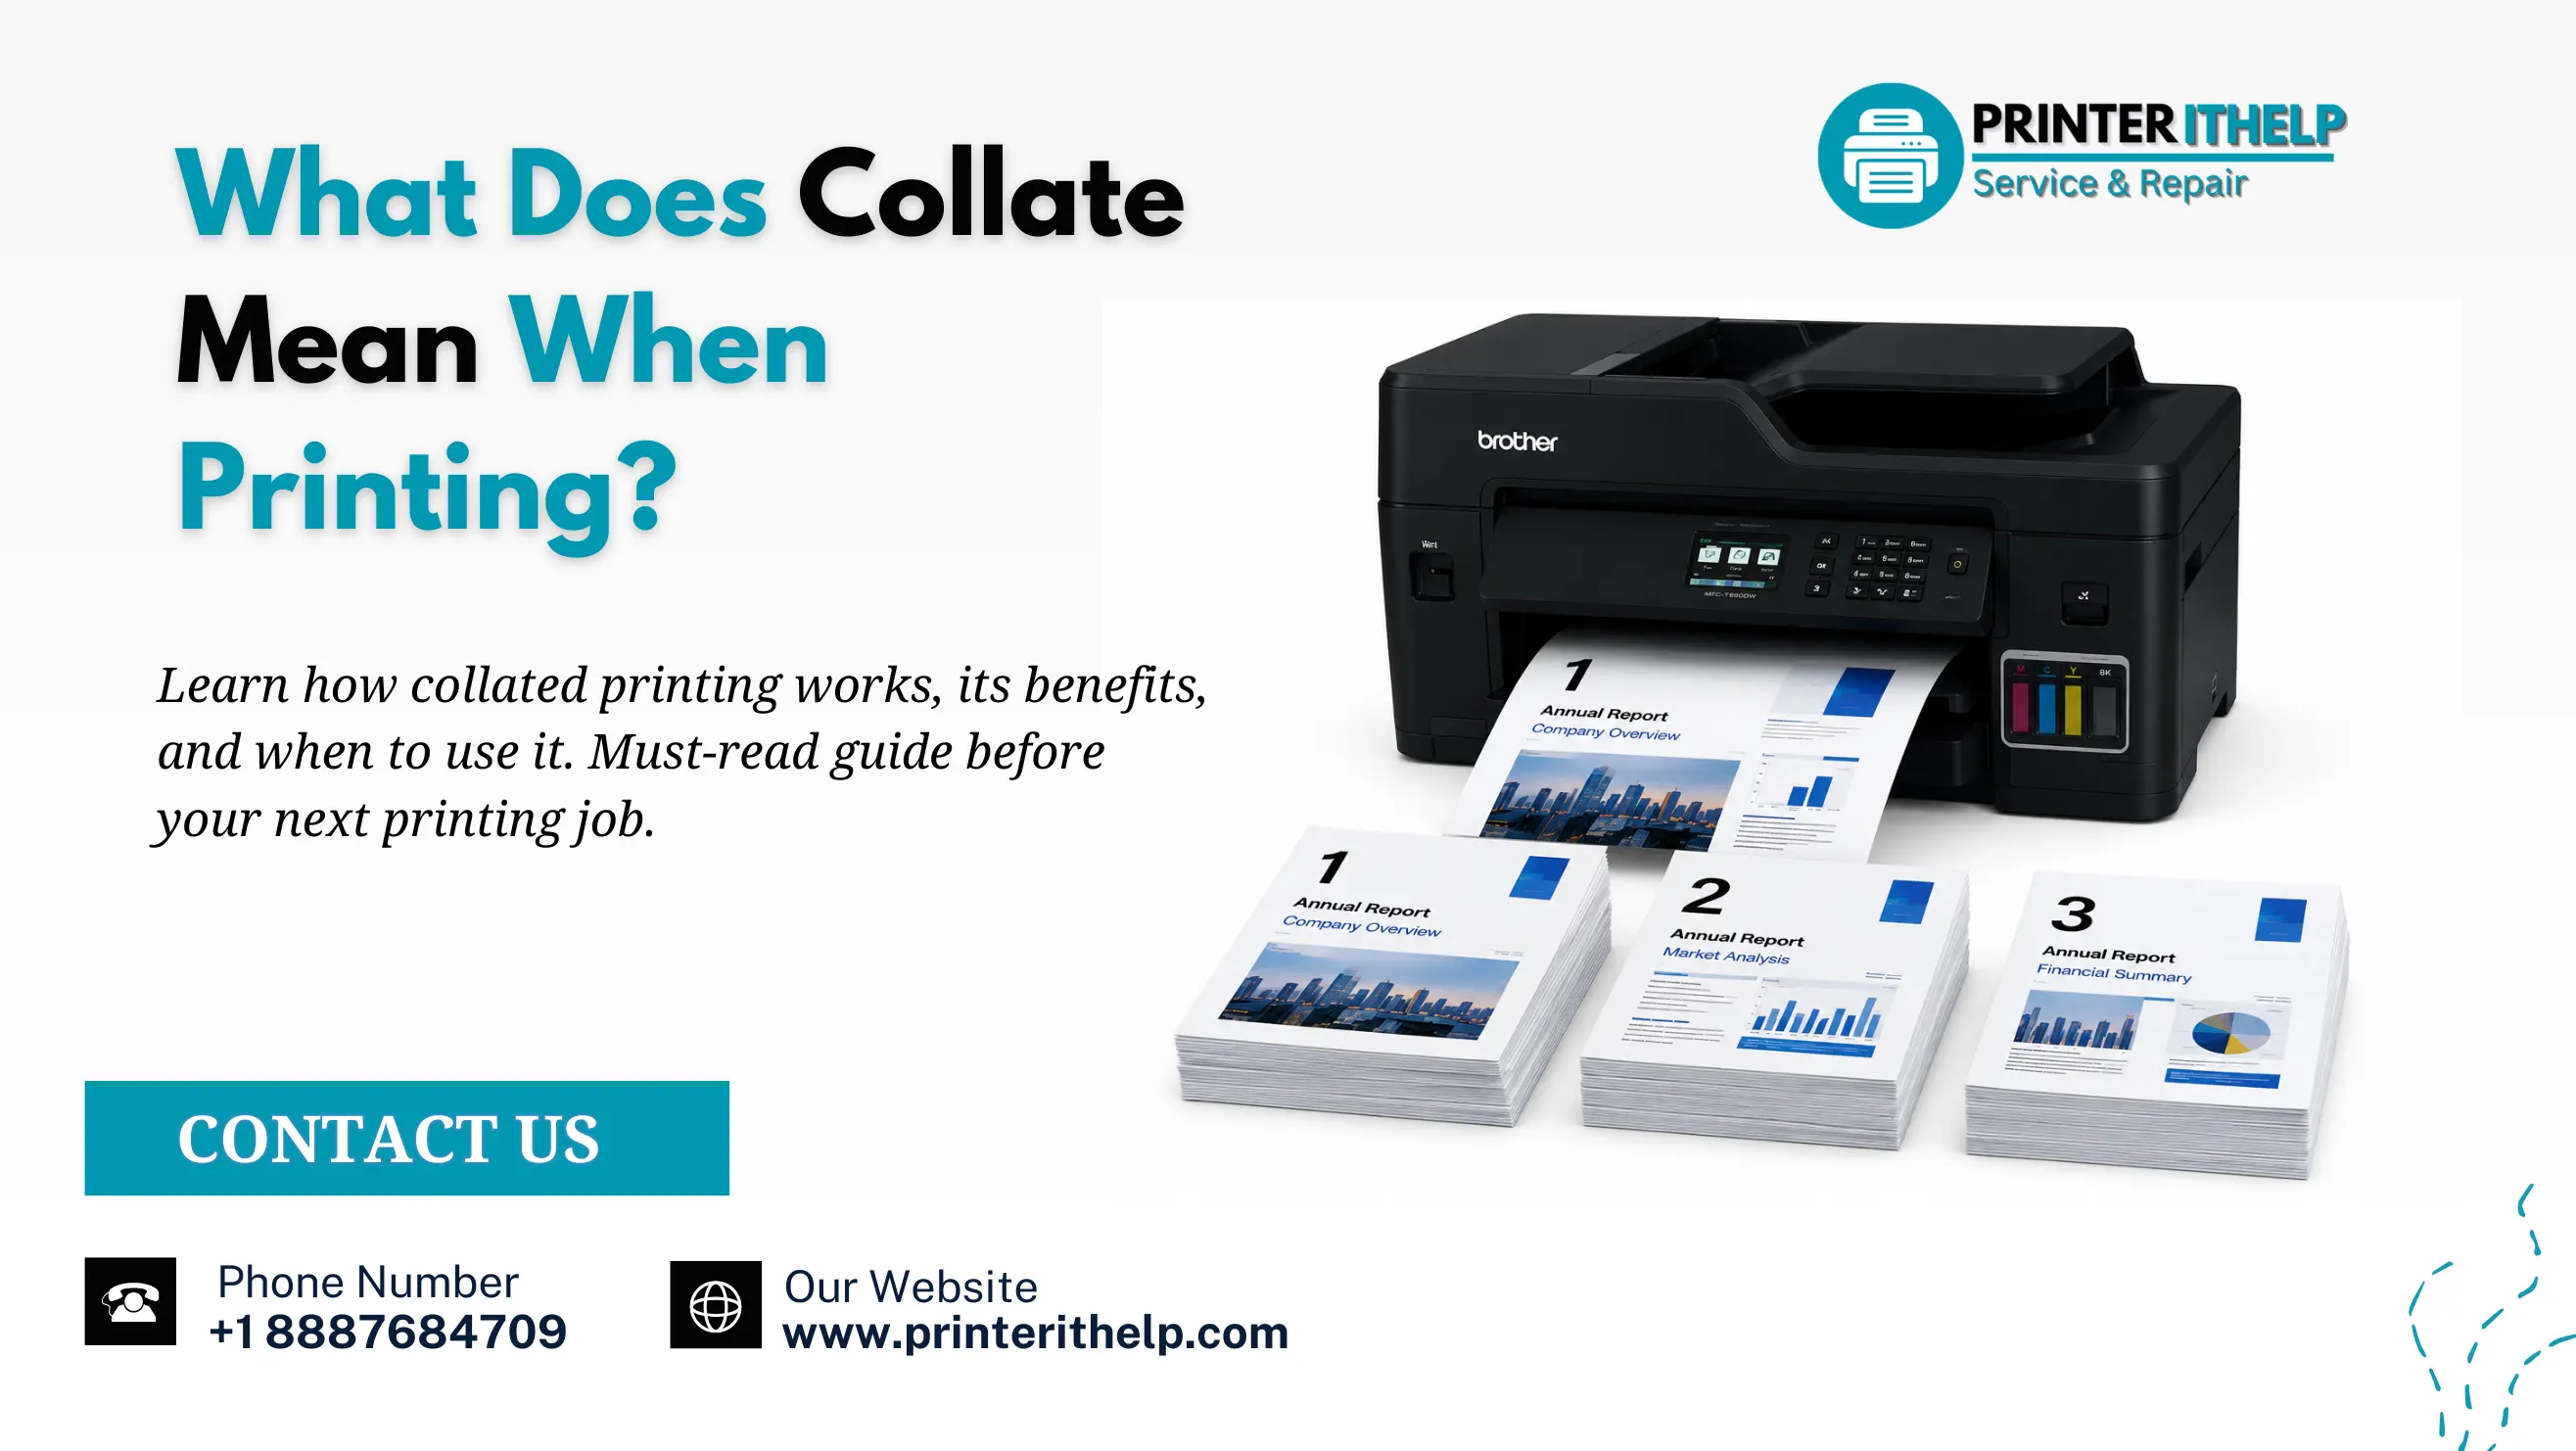
What Does Collate Mean When Printing?...
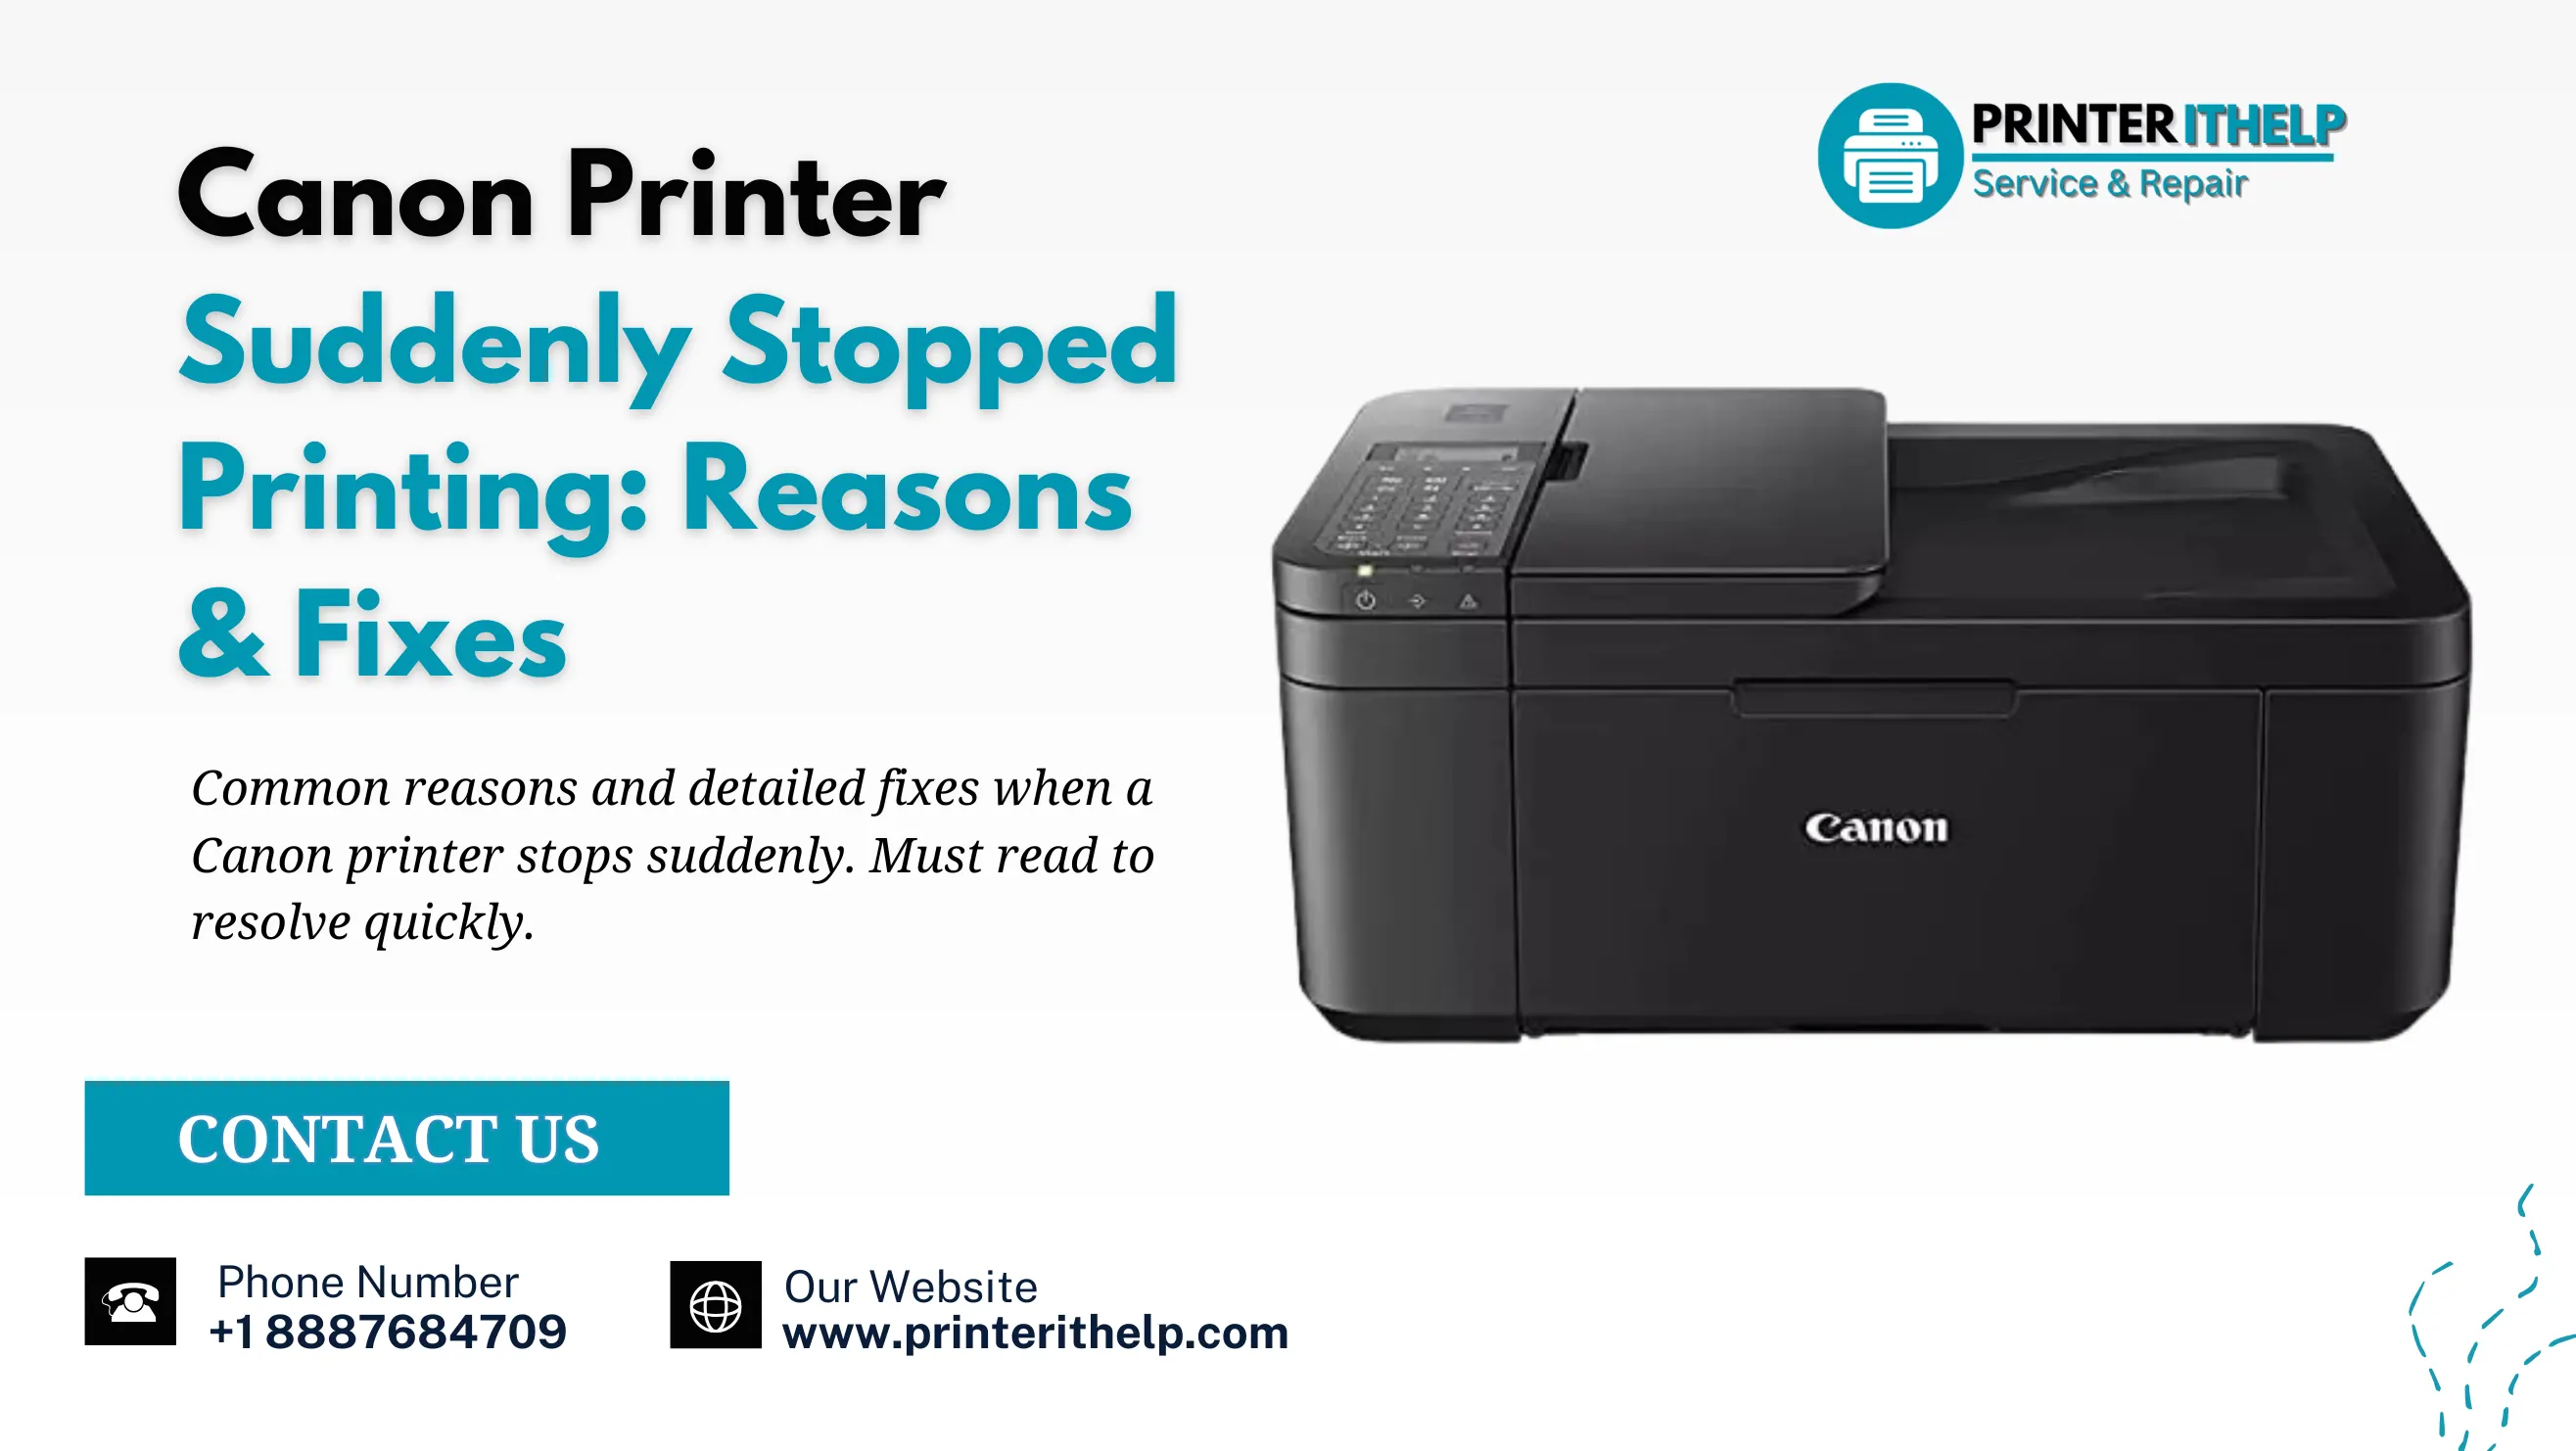
Canon Printer Suddenly Stopped Printing: Reasons ...
Brother Printer Setup: A Complete Installation Gu...
Ecotank Printer vs Cartridge Printer: Which is Be...
Printer Not Printing Black Ink After Cartridge Re...
How To Change Print Quality on an Epson Printer...